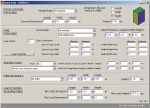
| The first step is to open a new document window starting from primary package dimensions and enter the dimensions of the first package, the one that will go into the carton and then into the master case. In this case, the rectangular package measures 2x1.5x3 inches and weighs 0.05lbs. We will use a "Rectangular" type of box construction and a case count of 12 packs per carton. Since we will not pack these small cartons onto pallets, it doesn't really matter which pallet constraints we use. When the input window has been set as the one in the screenshot to the right, we use Tools -> Recalculate. |
 |
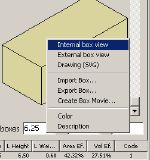
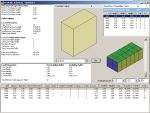
| This command should bring us to the Available Solutions window in which we will find a list of boxes on the right and a list of "pallets" on the bottom. If the box drawings do not show the contents but a rectangular brick, then you can click on the drawing with the right mouse button (ctrl+click on a one-button Mac) and then choose the Internal Box View. |
 |
| This is will allow us to see the cartons that have been created for placement into larger master cartons. From the six cartons to the right, we will choose the ones with different dimensions to avoid rework. In this example, we will use these cartons again as primary packages and calculate them all that once. |
 |
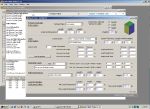
| For that, we will need to open a new Data Sheet -> Starting from PP Dimensions. |
 |
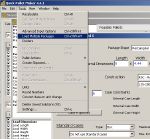
| There, we will open the Multiple Packages window which is where we can enter and calculate more than one primary package at a time. This is done by selecting the appropriate command from the Tools menu. |
 |
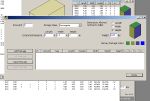
| A new smaller window will appear with a list in the middle with one package in it (if you are using a QPM version prior to 4.4.1, please update your app). Delete this package by selecting it in the table and then using the backspace or clear buttons. Your window should look like the one in the screenshot to the right. |
 |
| Now we will drag five of the six cartons from the Available Solutions window to the small Multiple Packages window. To do this, we move the latter to one side of the screen with its white table visible and then move the former to the front. After we select the items, we drag them from one window to the other. |
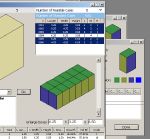 |
| If all went well, we should have five cartons on the list represented by primary packages that bear their external dimensions. |
 |
| For better understanding of how the cartons will go in the master carton, we change their colors by selecting them all and clicking on the small color boxes. |
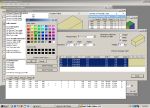 |
| After we've done that, we should see something like the screenshot to the right. If all is well, we click on "Done". |
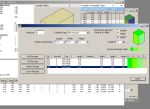 |
| What we have now is a primary package input window in which we have stored 5 cartons that will be calculated as primary packages into master cartons. The top part is grayed out. Now we will enter the carton-in-master carton info. The new case count is 24 and we will use a 48x40 pallet to place them. |
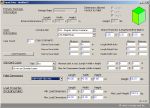 |
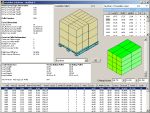
| After selecting "Recalculate", we obtain a new solution with cartons in master cartons in pallets. The pallet list is considerably large since we started by calculating all of the possible master cartons for 5 different carton sizes. |
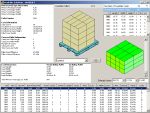 |
| The most straight-forward way to order the items to pick a good one is by choosing "Power Sort" from the Tools menu. The sorting criterion is "Primary Packages per Carton" or in other words, (small) cartons per pallet. Considering that all small cartons have the same count, it will also select the pallet with the highest PP count. |
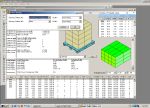 |
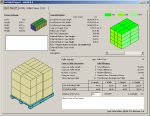
| This brings a nice looking pallet to the top of the list. We select that one and choose "Detailed Report" from the Window menu. |
 |
| The report window will appear with the carton information in the space made available for the primary packages. |
 |
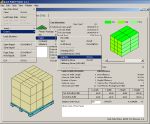
| You can either print the report or export the report graphics using the appropriate commands from the File menu. |
 |


